Tuesday 26 September 2017

You are Awesome - Tina Ollett

Hello and welcome . Tina Ollett back with you today to share a layout I have titled...............

"You are Awesome"......

2017-07-18 You are awesome 019 (1024x1016)


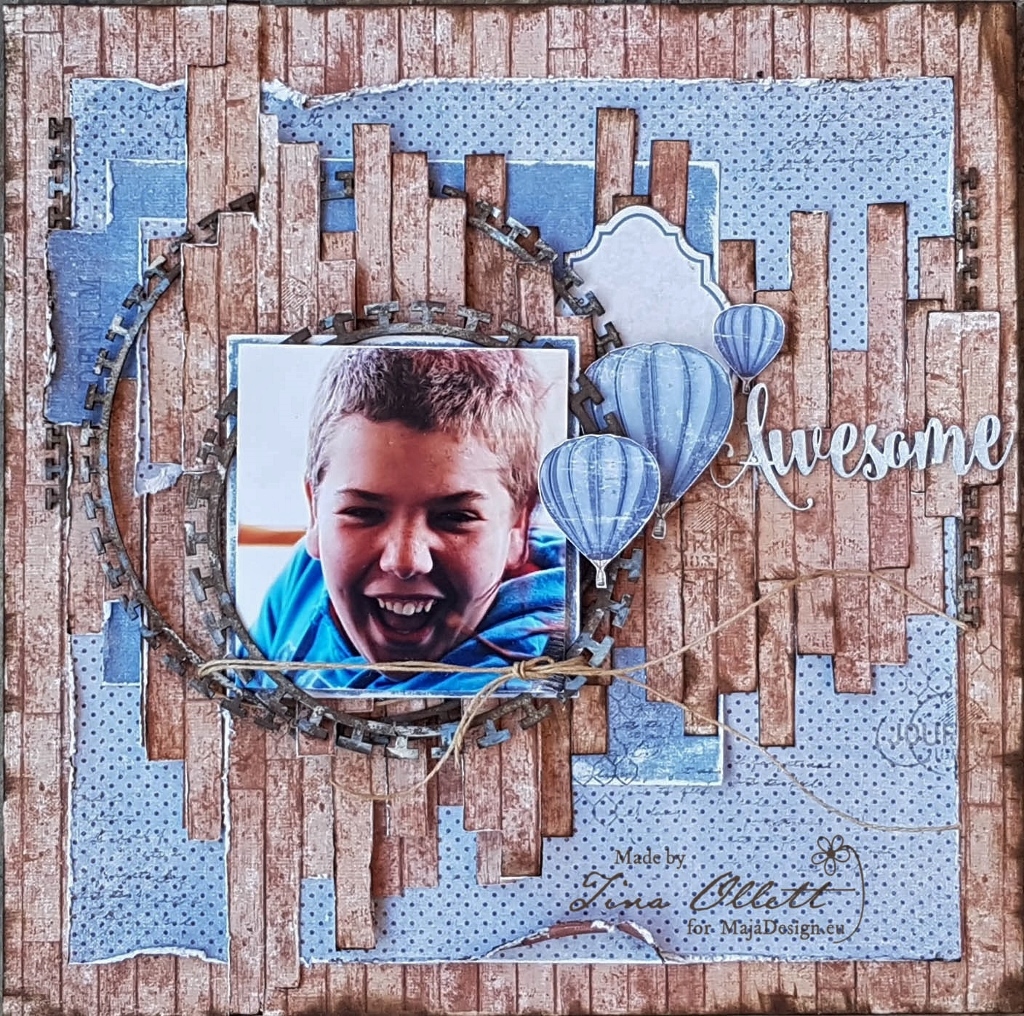
Doing pretty layouts with copious amounts of flowers and embellishments is my go to thing for most projects, but today because this is mainly a masculine paper collection, I have opted to use a photo of my son who is quite happy not to be the centre of attention ever, especially in my scrapbooking, but today it is! I captured this photo of him a number of years ago whilst we were on holidays at the Great Barrier Reef. We were on our way out to the reef on a very windy day and he was so very excited to be going snorkeling. The photo says it all.

2017-07-18 You are awesome 012 (1024x768)


I decided to keep this layout very simple with layering of all this fabulous collection. Of course I love to use woodgrain patterns to custom make the design for my yummy Dusty Attic chipboards and photo to sit. I used 2 sheets of Wood to create this using the first for the background page.

2017-07-18 You are awesome 014 (768x1024)


Denim-P


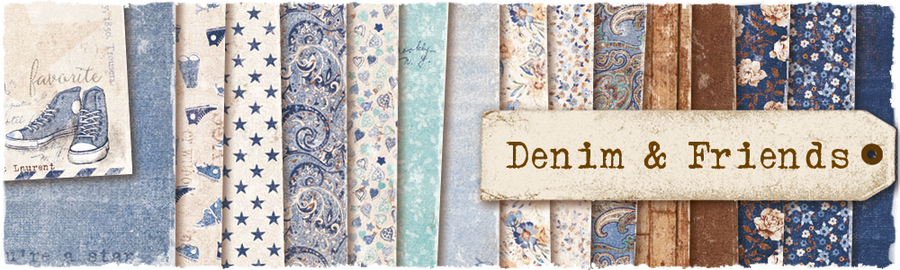
I have also added in the bs of Leather ( I also love polkadots) as a square frame to sit all of the cut wood to sit upon. And over this I have cut sections of Stonewashed to lay over this. My photo is also matted with Stonewashed.


2017-07-18 You are awesome 016


Autumn-Basics-P

 I have also used sheets of papers from the Vintage Autumn Basics collection, cutting some of the hot air balloons for embellishments to add to my project.
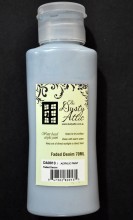
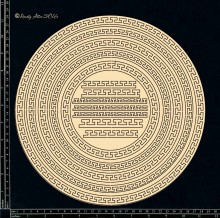
And now to get to the really good stuff......embellishing the page with Dusty!!! No layout is ever complete in my mind without the addition of chipboards. For my project I decided to use the Notepad Edge Frame. I used two of the circular frames to help highlight my photo. I have also used two of the straight Notepad Edge pieces. These were simply inked with Distress Ink and then I randomly wiped a little of Dusty in Colour Faded Denim to help it pop and co-ordinate with my beautiful papers.
Once the wood panelling was completed I intertwined each Notepad Edge through around and under the panelling.


12 x 12 Notepad Edge Frames Circle  DA1573

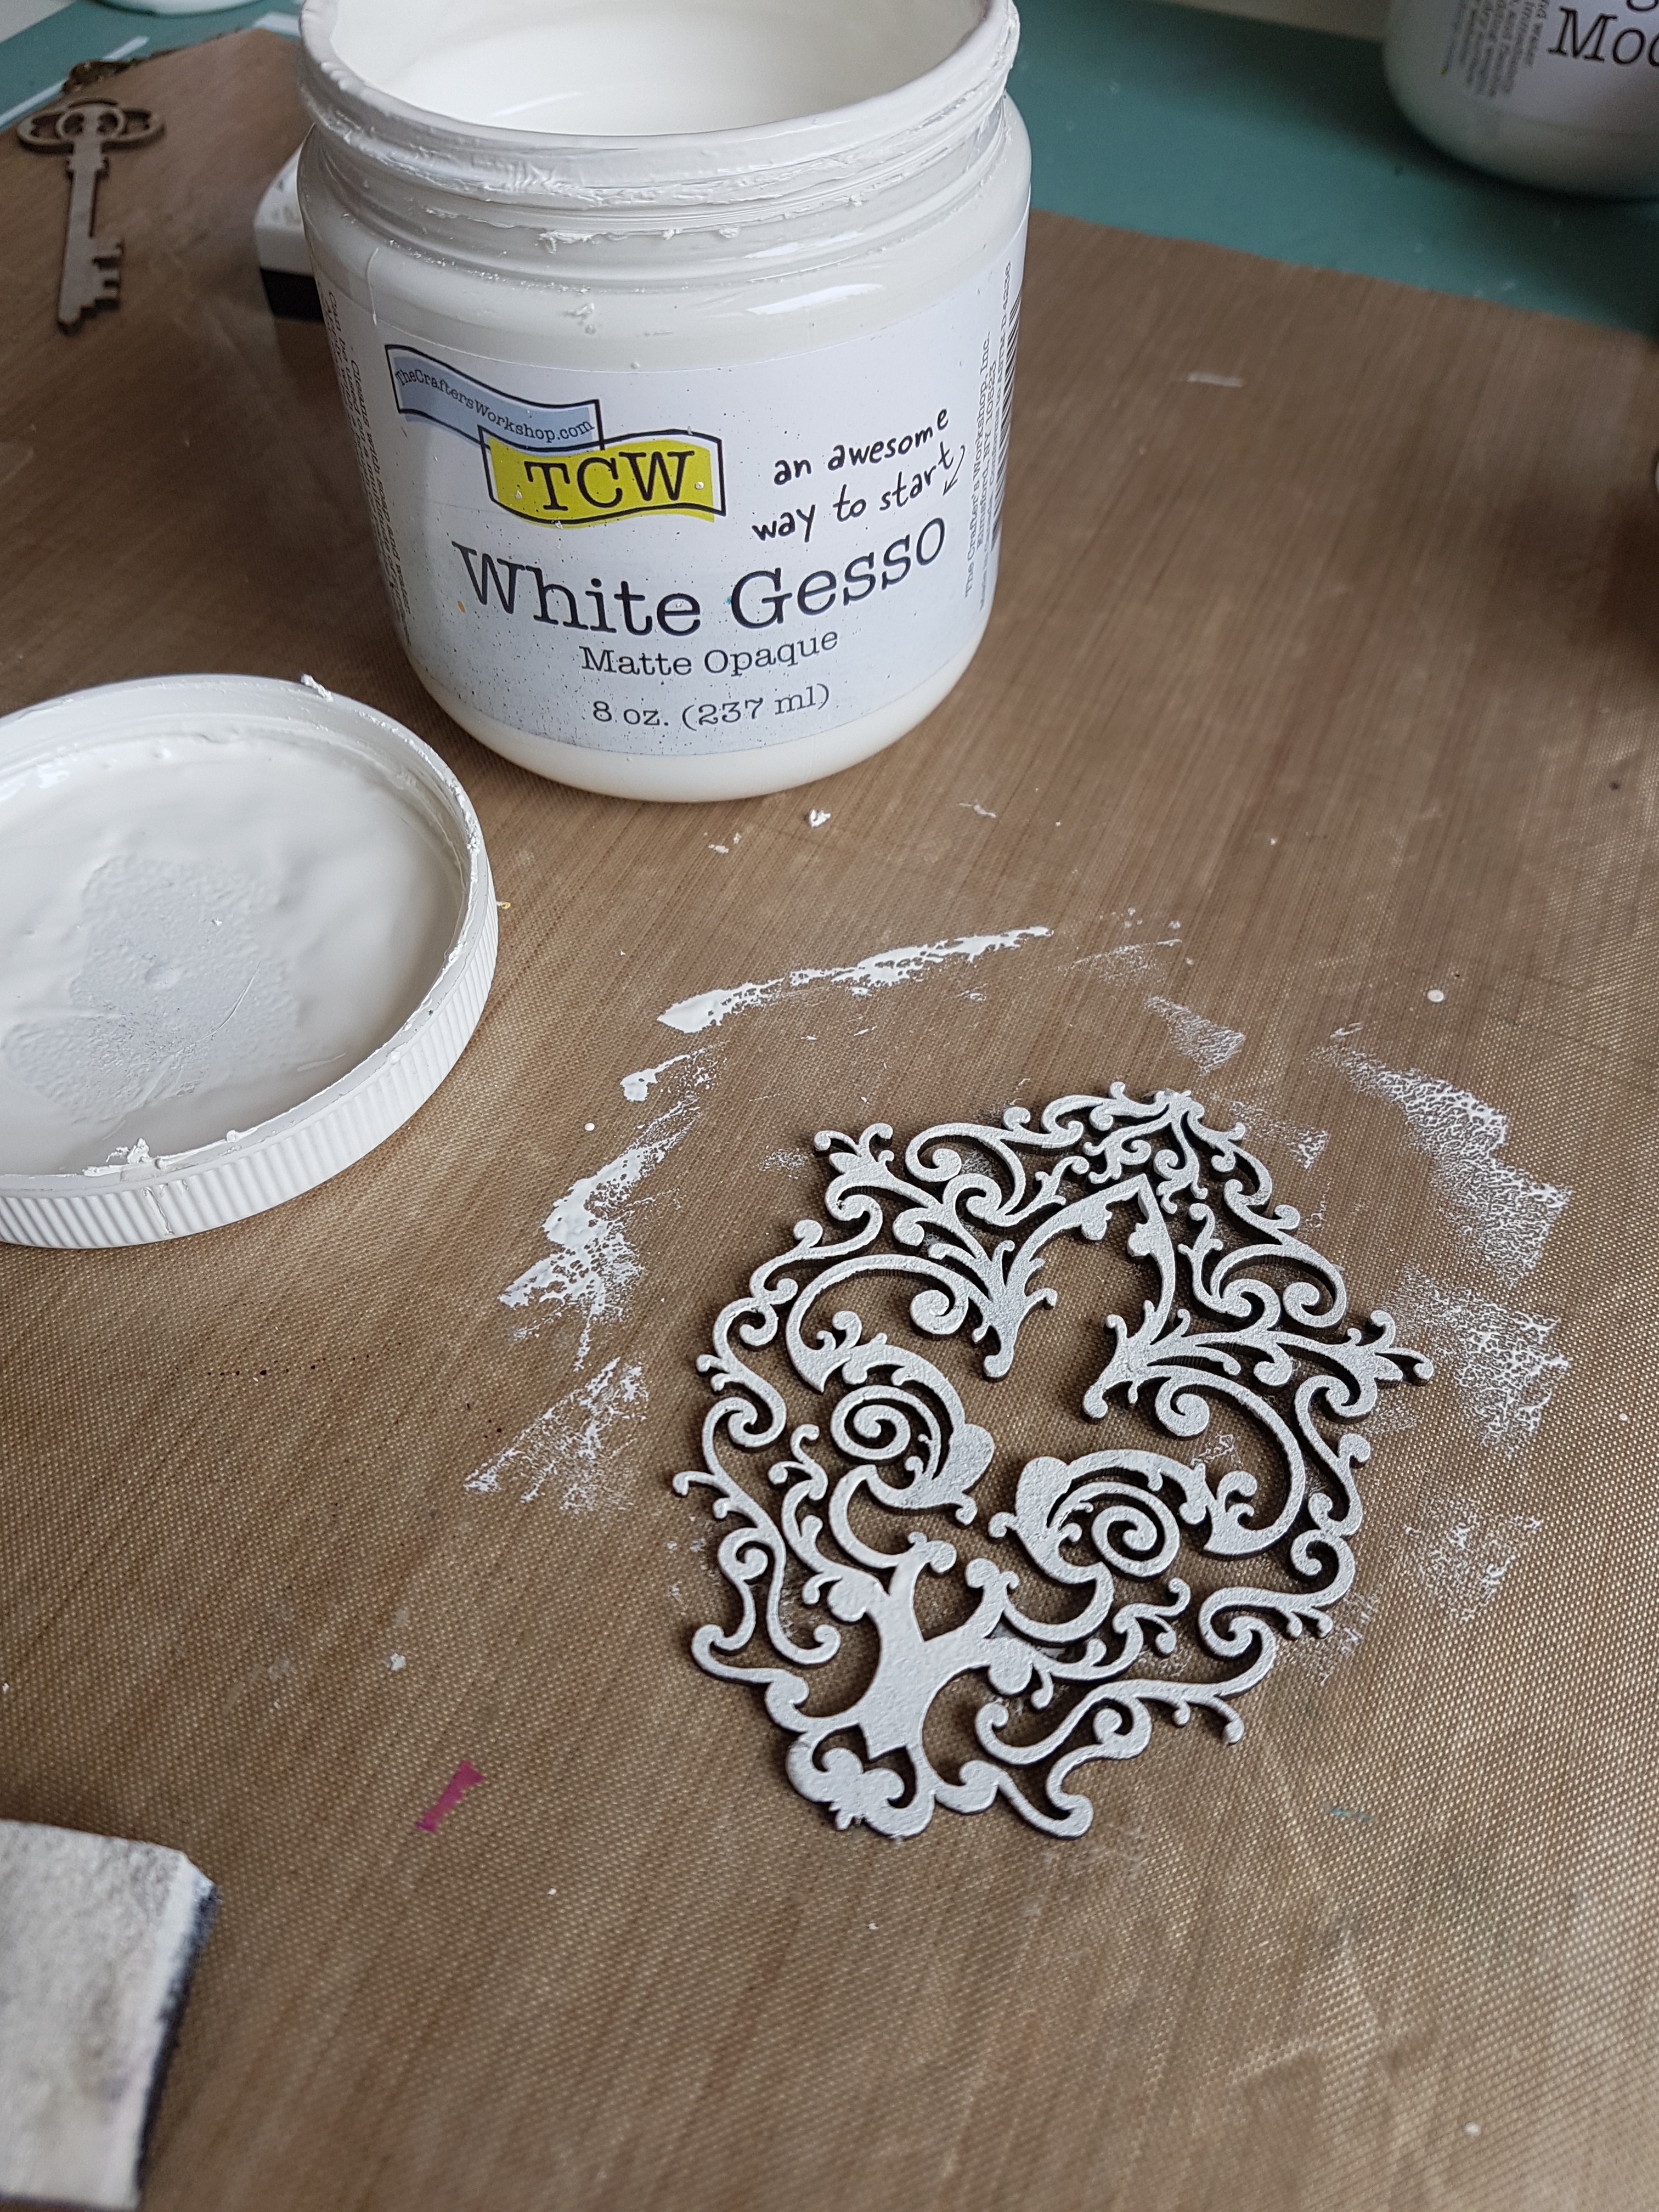
I chose to use the Word Pack #33 for the title "Awesome". This is a fabulous font chipboard. I feel it give the layout movement. It was dressed in gesso and a little Dusty Attic Varnish.


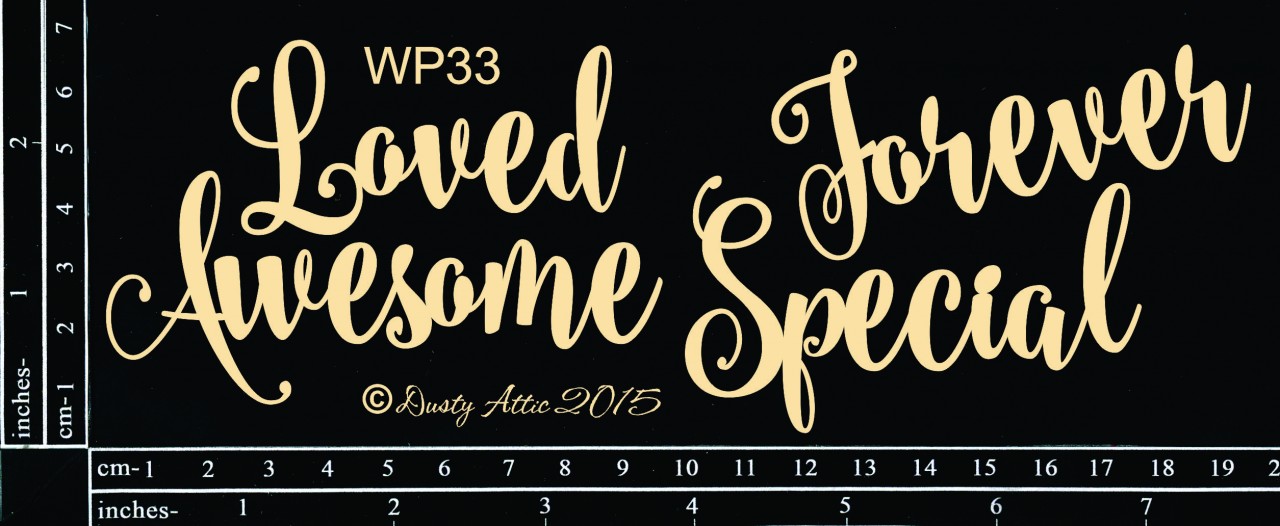
Word Pack #33 DA1448


Dusty In Colour Faded Denim DA0913


2017-07-18 You are awesome 015

I have also used lots of yummy Dusty Attic chipboards to emphasise my photo. These were inked and painted and layered amongst the layers of papers to allow more dimension to my layout.
Well that is all from me today. I hope you enjoyed your visit. Remember to return tomorrow for another Design Team creation. Until then take care and happy crafting. xxx


Monday 25 September 2017

Memories Documented - Cathy Cafun (Challenge inspiration)


Hi Dusty Attic Crafters,
Cathy here today to share my take on this month's Moodboard/Sketch Challenge using some of the new Dusty Attic chipboard and stencil designs


The inspiration I took from the Moodboard this month was the photo of the deer and the sketch, which I turned upside down.


"Memories Documented"

When I saw the photo of the deer in this month's Moodboard, I knew I would have to use one of the photos Luke took whilst at a Nara Deer Park in Japan.


To create my background, I stenciled first with the Crosshatch Stencil and Rose Gold Metallic Lustre, then stenciled over the top with the Leaves #3 Stencil and Mossy Ink.  To soften the ink I lightly sponged over with gesso, then stamped over the top with Kaisercraft Tiny Dot texture stamp in Rich Cocoa ink.  Lastly, I added some splatters of Lindy's Creme Brulee Cream Starburst Mist.
I used some of the cute Deer chipboard in the layers surrounding my photo.  To alter the chipboard, I coated the deers with Metallic Lustre in Rose Gold and White Frost on the antlers. I then lightly stamped on the edge of the deer in brown ink with tiny dot texture stamp, which I softened with a light sponging of gesso.
Here is one of the new release chippies Wildflowers #7... they are so pretty and delicate!!  Again I have used Metallic Pastes to colour my chipboard... I am addicted to them, and they are so easy to apply on your chipboard pieces.  You also have the added bonus of a touch of sparkle!!

A few more of the new release chipboard packs are the Mini Tabs #5 and Mini Dots which come in Black and Raw and just perfect to incorporate into your layers.


Thanks so much for stopping by.

 Dusty Attic Product Used

Other Product Used
49 and Market, Maja Designs & Bo Bunny pp's

Decoart Metallic Lustre - White Frost, Rose Gold
Viva Inka Gold - Hydrangea, Green Yellow

Kaisercraft Texture Stamp - Tiny Dot

Lindy's Stamp Gang - Creme Brulee Cream Starburst Mist

Memento Ink - Rich Cocoa

Mixed Media Ink - Mossy


Happy Crafting
Cathy xx


Sunday 24 September 2017

Summer Days - Joanne Bain

Hi Everyone!!

Joanne dropping in today sharing my latest creation created for the gorgeous Dusty Attic September Mood Board Challenge. The challenge has an amazing prize of a $100 Dusty Attic Gift Voucher for the winner and to enter you simply need to use the Mood Board for Inspiration, you can interpret it anyway you like. The only requirement is that Dusty Attic chipboard is used in your creation. Once completed simply add your link to the right side bar of the Dusty Attic Blog.

So this is the September Mood Board.


So bright and colourful!

This is my interpretation...

'Summer Days'


So I was inspired by the eye on the board and the colours. To create the centre cluster I used the Dusty Attic Peacock Feather set.


I wet the chipboard peacock feathers and slightly pulled apart to give more of a full lot of lashes. The title is from some of the new Dusty Wordpl@y titles. These are fantastic as they come in black and natural colouring.


I added multiple layers of cotton thread for added texture and finally finished with a sprinkling of Dusty Mini Butterflies.

Dusty Attic
Materials List
DA0568 Peacock Feathers
DA1791 Wordpl@y #7 BLACK
DA0893 Mini Butterfly #2

Come visit my blog - Scrappin For Me


Saturday 23 September 2017

Wild and Free - Nadya Drozdova (Challenge Inspiration)


Hi everyone! This month we have so colorful Mood board! Very inspirational! I`ve made a LO with some bright elements and accents. Mini Tabs from the new release are beautiful addition for every project!


Main chipboard I covered with acrylic paints, embossing powders and distress inks.


Add some Sizzix dies and Prima marketing flowers. Paper collection is Rossi Belle by Prima


My background was made with Dusty Attic stencils and oil pastels. 


Wish you good mood and a lot of inspiration!
Remember you can win a $100 voucher to the DUSTY ATTIC WEBSITE  , add your link on the right hand side of the blog 

Product List:

mini Tabs #5 BLACK

Hugs, Nadya


Friday 22 September 2017

Important Stuff Journal cover - Farrel Tailor (Challenge Inspiration)

Hello Everyone!!!
Today I am sharing with you all a mixed media art journal cover I created using some amazing TCW products and Dusty Attic Chipboard pieces. My inspiration for this cover is from the Dusty Attic September Mood Board.


20170919_153054
To start the background I applied TCW 9001 White Gesso using a dry paint brush. Then to blend the edges a little bit, I used a baby wipe. Once the gesso was dry (which doesn't take long as it's only a light coverage) I then used TCW202s Mini Harlequin stencil along with TCW9004 Light and Fluffy Modeling Paste using a silicone brush.
20170919_110249 20170919_110857
I then dried the modeling paste using my heat gun. Once that was dry I then used some 13arts Water based inks mixed with water in colours - Yellow, Scarlet and Bordeaux. Again used the heat gun to dry and then applied some stamping using black archival ink, Stampers Anonymous stamp and Darkroom Door texture stamp.
20170919_111454 20170919_113026
Once I was happy with the background I then covered my small doily from Doily #5 with TCW9001 White Gesso and covered the small Fleur de Lis with TCW9015 Heavy Body Acrylic Paint Black Licorice
20170919_113850 20170919_122206
Next I lightly sprinkled some Lindy's Stamp Gang Magical Shakers - Bavarian Blue and just lightly sprayed with water. I then coloured the cheesecloth with Colour Blast Shimmer Dust - Cobalt and Navy and some water. And now to assemble!!! As you can see I have cut the painted black doily chipboard in half, added the cheesecloth and some art stones. I adhered all my pieces using iCraft Mixed Media Adhesive
20170919_122605 20170919_124555
Last of all I adhered the Fleur de Lis chipboard along with the black title from Wordpl@y #3 black chipboard in the center.


Thank you for dropping by xx

Farrel Tailor